Site sections
Editor's Choice:
- Technology and step-by-step instructions for nail gel: steps, rules, process
- White spots on the nails, reasons for what to do, white spots on the nails and folk signs
- Available methods for rapidly increasing blood leukocytes
- Nail and skin fungus will not resist the coffee grounds
- Crocus furniture exhibition. Furniture exhibitions
- Owl tattoo on arm value
- The biggest members in the world
- Fractures of the phalanges of the foot photo
- What is “bad” and “good” cholesterol
- What to do if the skin around the nails dries
Advertising
| How to learn how to make nails gel varnish building |
|
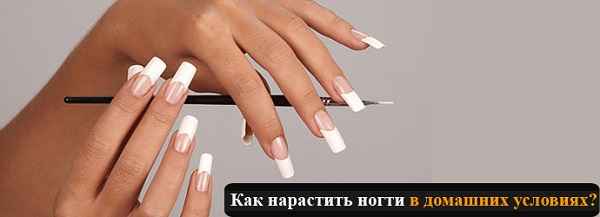
Every girl dreams of beautiful, well-groomed hands with long nails. But not all nature has endowed with strong nails that can not break at the most inopportune moment. Therefore, girls resort to the procedure of building. It is fast, convenient, high quality and durable. But financially costly. It is expensive to grow nails in a beauty salon and not every girl can afford it. Therefore, there is a desire to create a masterpiece on the nails independently. And it is quite possible. The main thing is to acquire the necessary materials at hand, the baggage of patience and the desire to learn. Nail extension procedures at home with the help of various materials will tell the article. Materials for buildingLong, neat marigolds are created with these materials:
They all vary in quality, density and price. Gel - the most sought after and popular. “Products” based on it are dense, non-brittle, non-toxic. It's easy to work with him. Beginners start working with him, so if you decide to build up on your own, we recommend starting to learn how to do it with gel.
Building acrylic and gel is done in two ways:
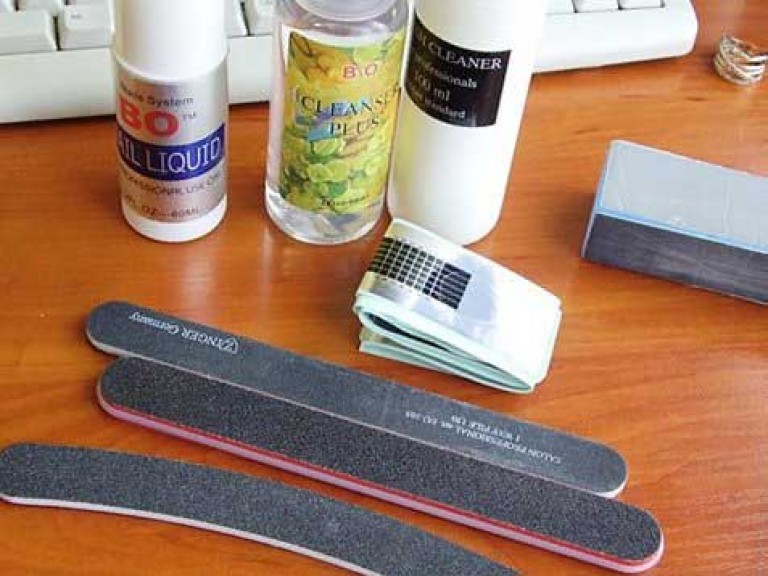
Nail extension can not do without special tools. It will take:
When applying the technology with forms, you will need to purchase additional tweezers.
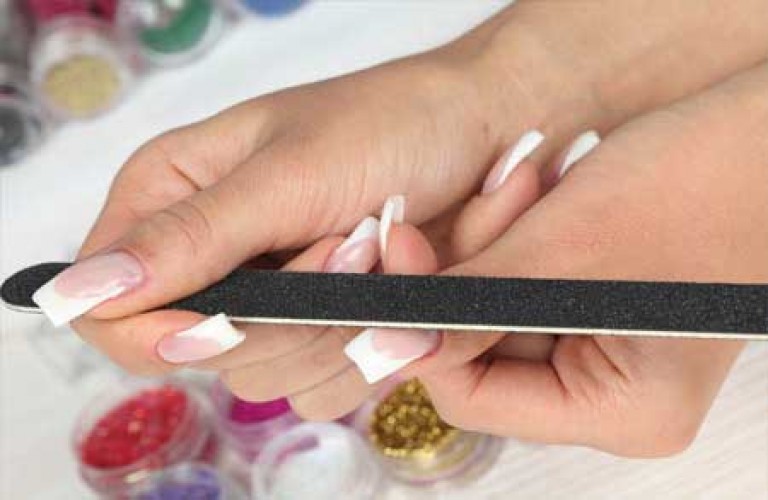
Gel extensionImmediately before the procedure, pretreatment of nail platinum is carried out. Initially completely disinfect hands. In the presence of damage to the nail plate - the procedure is postponed. Cuticle before building is not cut off. She moves away with a wooden stick. Then nails are filed, they are made oval. With the help of a brush, dust is removed and the base coat is applied.
Acrylic buildup
Since the procedure for building up the forms has already been presented, we suggest that you familiarize yourself with the technology of building up acrylic on tips. Step-by-step instruction:
This build-up acrylic is completed.
Many are interested in how long the effect of building will last, how many nails will stick. This question cannot be unambiguously answered. It all depends on the lifestyle of the girl, nail care, quality of the material, etc. On average, “add-on beauty” lasts about two months. Then they require correction. CorrectionMore often, the correction is carried out on the nails, which were built up with gel. Therefore, it will be about this case. Correction refers to the process of applying a new layer of gel to the previous one. Step by step correction instructions at home:
This completes the correction procedure. VideoWell-groomed hands are no longer a whim, but a genuine necessity. If almost all women can do a manicure, only a few have mastered the nail extension technology so far. In order not to turn to the masters, it is better to study this technique and do your own professional modeling. To get started, read our article. In it you will find answers to the most burning questions about the gel buildup and will be able to lay the foundation for the subsequent practical experience. Advantages and disadvantages of the gel coatingThe gel used for modeling is similar in structure to a natural nail. Therefore, the extension procedure has gained such popularity. Gel nails are shiny, durable and beautiful. If the work is done professionally, they cannot be distinguished from natural plates. If you have doubts about whether to make nail extensions gel at home, learn the advantages of this material:
Despite the apparent superiority of the gel over other materials, it is not without flaws. It is worth noting that modern compositions have a minimal set of minuses:
Recently, there has been a trend of preference for a conventional gel with its biological-based counterparts. This material is used to strengthen the natural plates. With it, it is impossible to increase the large length, as well as make a correction. But building biogel is considered absolutely safe, because does not require cutting. The composition of the standard set for building Proper gel buildup at home can be done only with all the necessary tools and materials. You can buy a starter kit for modeling as a whole, or collect it in parts. In any case, it should contain the following elements:
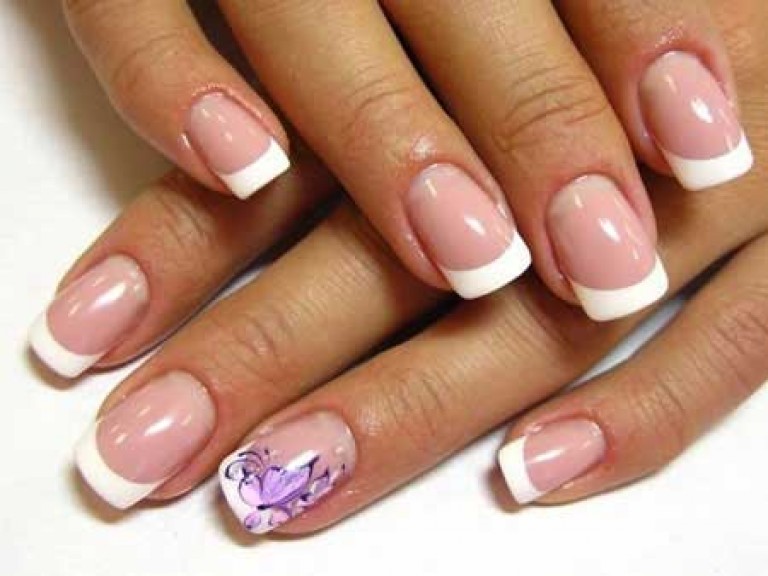
For nail extensions using a gel, you will also need materials for the design. Their number and type depend on the type of chosen nail decor. If you do a classic french, then just buy a camouflage and white coating. 6 steps to build gelModern women have a unique opportunity to learn the subtleties of the art of manicure using the Internet. They do not have to learn from practicing masters how to properly build up nails with gel, but rather read the instructions and watch the training plots. We describe the classical technique of building up the gel step by step:
Thus, the modeling procedure is carried out using forms. Plates are flexible and at the same time durable. After 3 weeks, do not forget to make a correction. Secrets of durability of the increased nailsArtificial marigolds last at least 3 weeks. If the procedure was carried out qualitatively, you will come to the correction with intact plates. Sometimes you have to do it ahead of time. This is due to delamination of the material or breakage of the artificial nail. Such troubles do not bypass the girls who do nail extensions using the gel at home, disregarding the rules and counting on the strength of the coating. To increase the service life of artificial plates, the master makes the following recommendations:
If you did nail extensions with Biogel, then the coating should be adjusted after the two-week period. This layer does not require cutting, it is enough to treat it with a special tool and then clean it. Therefore, the need for more frequent correction of biogel does not affect the health of natural marigold. The technology of plate lengthening requires laboriousness and accuracy. With due diligence, you will quickly master it. But the masters recommend beginners at least once to visit the procedure of modeling and correction, before starting to practice independently. Do you agree with them? Your opinion can be stated in the comments under the article. Exquisite style, healthy skin, elegant hair, beautiful posture - without these components a woman can not be a woman. They must always monitor their appearance and manners. A lot of attention trying to give hands, because they reflect their age or laziness to engage in themselves. A manicure - it's almost jewelry for women. And to make it look great, girls resort to tricks and even, one might say, play with the laws of nature. Now they can have a stylish manicure using a quick way to nail. In this article you can learn how to learn how to build nails at home.
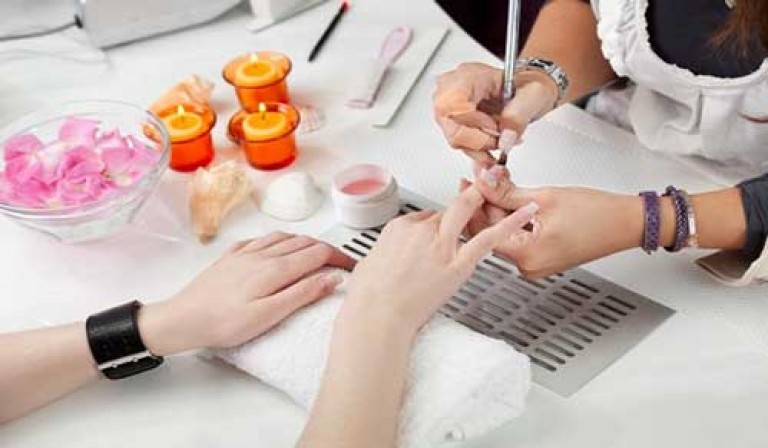
In each beauty salon you can order a nail extension service, but there is not always time, or desire, to go to such places. Therefore, most of the procedures that are done to maintain beauty, we spend at home. And if earlier you couldn’t afford tools for manicure and varnish, now everything is possible! Next, we will talk about how to carry out the procedure for creating long nails at home.
One of the easiest ways is to use ready-made false nails. They can be purchased in many stores, they are different in shape, they can be decorated as you wish, and there are already decorated for a different occasion and for a different style. Included with them should be a special glue in a tube. You can immediately throw it away, because it is not suitable for this procedure, because it holds the nail weakly. It is better to separately buy a product that is much better and will provide a good effect. Getting StartedFirst you need to prepare the basis for "sticking". Cut off your nails as much as possible, trim the sections with glass and then with a polished nail file. These nails can not peek, otherwise get a marriage. Now you need to try on, take false nails and attach each to the corresponding finger. If everything came up, move on. Apply a small amount of glue on a dry, clean nail and distribute evenly throughout the whole area. Apply a nail so that it does not stick over the skin and does not go under it. It must be docked with the cuticle. Now press it down with your thumb and hold it a little so that the air comes out and it is firmly stuck. Also see that the pressure is on the entire area where there is glue. The basis for your home manicure is ready. If you do everything right, you can enjoy your creation for about a week, because false nails tend to fall off. Those that still hold, you can gently remove the natural nail plate without harm. To do this, cut them to be the same length, dip them in acetone and then file them with a nail file. You should not forcibly tear off the piece, otherwise you will have to restore the health of natural nails with the help of therapeutic agents.
This method is more complicated, but the effect is worth it. Only if you perform the procedure incorrectly, you will spoil all efforts. And so that this does not happen, you should read about the nuances and take into account all of them. It is best to take a course of nail extension, or simply consult with experts who can help you in choosing the means for gel nail extension, and also they will tell you what to do later. The main attention should be paid to the preparation of nails. One wrong move, and the gel part will fall off. The most important rules for building up include some restrictions on this procedure. If you have to start these days soon, you should postpone the procedure. Do not use any nourishing and moisturizing hand creams per day when you are planning to build gel nails. Your real nails should be thoroughly polished and cleaned, so that there is no air between the gel part and your own nails. Also trim the nails and remove the cuticles. Now we will discuss the procedure itself. Use a nail file to clean the entire surface of a natural nail. It is necessary to do so that there is not a small area left, as this will lead to flaking. Don't choose much long nailsbecause you get tired of adjusting them. Use a special stencil before applying the gel.
If a gel ball has been peeled off from time to time, it is possible that you are pregnant or have taken potent drugs. Naturally, much depends on the individual characteristics of the organism. Acrylic
This is another popular way to get gorgeous long nails in a fairly short time. Acryl used to be used for medical purposes, but recently it moved to cosmetology. Now it is considered the basis for creating the perfect manicure. To build up acrylic nails, you need to buy special tools: a brush, manicure tools, a means for “sticking” an acrylic layer to the natural nail, a degreaser and acrylic itself. The first thing to do is, as always, prepare your nails for the procedure.
To keep your hands beautiful as long as possible, you should regularly adjust acrylic nails. Do this at least once every two weeks. To do this, using a nail file, correct the shape of the manicure. Defat the surface of the plate and apply acrylic fixing agent. Use this tool carefully, so as not to catch the cuticle. Apply acrylic to accurately repeat the shape of the past manicure. Then leave your hands alone for the material to stick and harden. And in the end polish to a shine a nail plate. |
| Read: |
|---|

New
- Sequence of procedures
- The program of intensive moisturizing of the skin on cosmetics bark
- What you need for acrylic powder
- What does owl mascot mean
- Analyzes for pancreatitis: what research should be done and what indicators show
- Owl - a talisman to attract money and good luck
- What bird screams at night with a kitten's voice?
- Cholesterol and stress
- Manicure at home
- Effective facial


